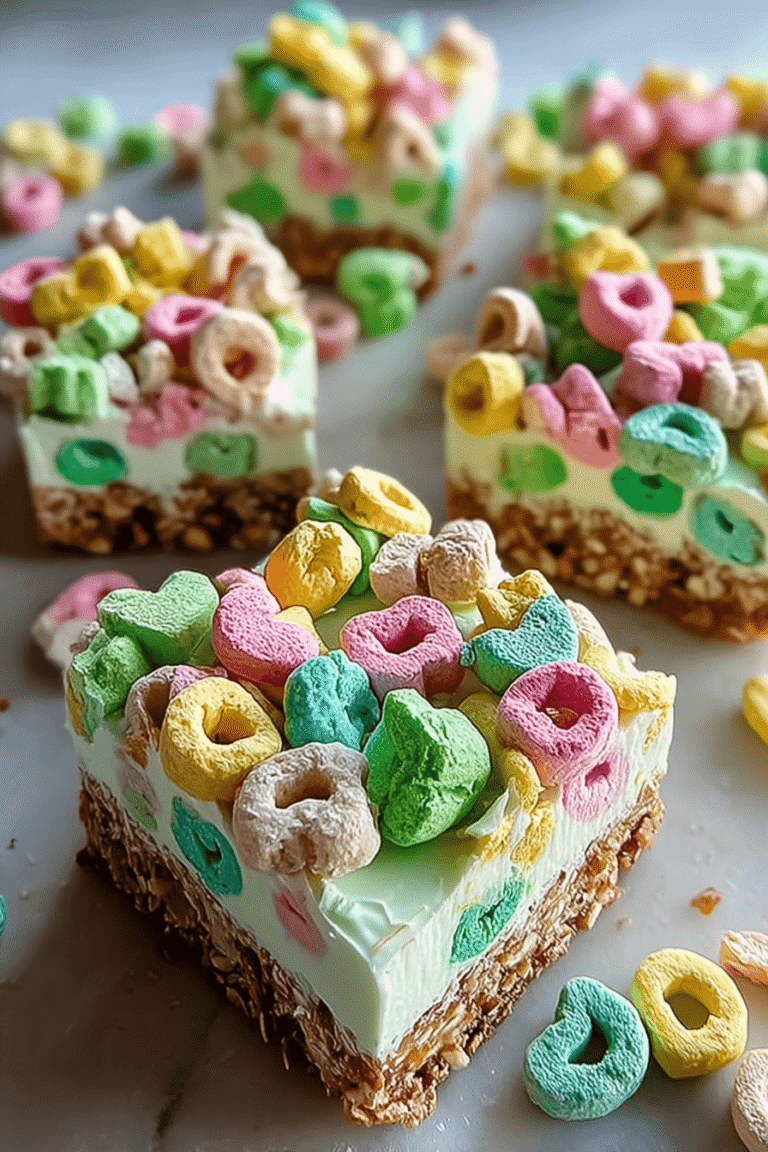
Ingredients
– 7 cups marshmallow cereal
– 1 bag (10 ounces) miniature marshmallows
– 5 tablespoons butter
– Pinch of salt
– 8 ounces cream cheese, softened
– 1/2 cup sugar
– 1 tablespoon vanilla extract
– 7 ounces marshmallow creme
– 8 ounces whipped topping, thawed
– Additional whipped cream for garnish
– Additional cereal marshmallows for garnish
Instructions
1- Diving into this recipe is a breeze, especially since it’s no-bake, meaning you can skip the oven and get straight to the fun. First, lightly grease a 9-inch round springform pan to keep everything from sticking, and that’s your starting point for a smooth process. You’ll love how quick this comes together prep is about 2 hours and 20 minutes total, including chill time, so it’s ideal for a spontaneous treat.
2- Now, let’s walk through the steps one by one, incorporating the directions from the recipe summary. Pour the 7 cups of marshmallow cereal into a large bowl as your base. Melt the 10 ounces of miniature marshmallows, 5 tablespoons of butter, and a pinch of salt over medium-low heat until it’s all smooth and combined, then pour that over the cereal and toss to coat evenly. This creates that gooey, colorful crust we love.
3- Press the mixture into your prepared pan using a greased glass to get an even layer, and let it cool completely for about 30 minutes. Next, beat the 8 ounces of softened cream cheese, 1/2 cup sugar, and 1 tablespoon vanilla extract until smooth, then mix in the 7 ounces of marshmallow creme and fold in the 8 ounces of thawed whipped topping. Spread this over the cooled crust and refrigerate for about 2 hours until set.
4- Before serving, garnish with whipped cream and cereal marshmallows for that extra pop. If you’re adapting for dietary needs, remember tips like using 4 to 5 cups of cereal if it’s easier for your pan. This no-bake method keeps things light and fun, and it’s a great way to involve kids in pressing the crust or decorating the top.
5- Finally, cut into bars and enjoy the creamy, sweet goodness that’s both gooey and chewy.
Last Step:
Please leave a rating and comment letting us know how you liked this recipe! This helps our business to thrive and continue providing free, high-quality recipes for you.Notes
👩🍳 Separate cereal marshmallows if unavailable, or use extra cereal as topping.
🍪 For a firmer crust, pulse cereal into crumbs and bake briefly.
🎨 Great recipe to involve kids—let them mix, press crust, and decorate the cheesecake.
- Prep Time: 30 minutes
- Chilling time: 2 hours
- Category: Dessert
- Method: No-bake assembly
- Cuisine: American
- Diet: Vegetarian
Nutrition
- Serving Size: 1 slice