
Why You’ll Love This Mini Chocolate Cakes
Picture a quiet evening with friends, where a batch of mini chocolate cakes steals the show. These little treats are simple to whip up and bring a smile with their rich flavor and fun size, making them a hit for anyone craving something sweet without the fuss. From busy parents whipping up a quick dessert to baking enthusiasts testing new ideas, mini chocolate cakes fit right in as that go-to recipe everyone loves.
One reason you’ll adore this recipe is its ease of preparation. This mini chocolate cakes recipe is straightforward and fast, letting you create fresh, delicious treats in no time with just a few everyday ingredients. Plus, it’s packed with health benefits, like the antioxidant-rich cocoa that can give a mood boost, along with options for lower sugar if you tweak things a bit.
- Versatile recipes for everyday cooking show how this dish adapts to various dietary needs, such as vegan or gluten-free versions.
- And let’s not forget the distinctive flavor the deep, intense chocolate combined with a moist texture turns these into a standout snack or dessert that feels special.
- Whether you’re a student looking for a quick study break treat or a party host aiming to impress, these cakes add a fun twist to any meal.
The best part? You can make about 7 mini cakes, each around 7 cm wide and stacked three layers high, with plenty of that creamy chocolate buttercream frosting for an extra indulgent feel. It’s perfect for special occasions or even a cozy night in, proving that good things come in small packages.
Jump to:
- Why You’ll Love This Mini Chocolate Cakes
- Essential Ingredients for Mini Chocolate Cakes
- Chocolate Cake Layers
- Chocolate Buttercream Frosting
- Decorations (Optional)
- How to Prepare the Perfect Mini Chocolate Cakes: Step-by-Step Guide
- Getting Started: Preheat and Prep
- Mixing the Batter
- Baking and Cooling
- Cutting, Assembling, and Frosting
- Dietary Substitutions to Customize Your Mini Chocolate Cakes
- Protein and Main Component Alternatives
- Vegetable, Sauce, and Seasoning Modifications
- Mastering Mini Chocolate Cakes: Advanced Tips and Variations
- How to Store Mini Chocolate Cakes: Best Practices
- FAQs: Frequently Asked Questions About Mini Chocolate Cakes
- Can I make mini chocolate cakes gluten free?
- Is it necessary to add hot water if I don’t use coffee in the recipe?
- How should I store mini chocolate cakes to keep them fresh?
- Can I make mini chocolate cakes in shapes other than rounds?
- Do I need special tools like a piping bag to frost mini chocolate cakes?
- Mini Chocolate Cakes
- Ingredients
- Instructions
- Last Step:
- Notes
- Nutrition
- Did you make this recipe?
Essential Ingredients for Mini Chocolate Cakes
Gathering the right ingredients is the first step to baking success, and for these mini chocolate cakes, you’ll want fresh, quality items to create that moist, flavorful base. This creates about 7 mini cakes, each with a generous layer of chocolate buttercream frosting for a rich treat that’s hard to resist. Below, I’ve listed everything you need in a clear format to make shopping and measuring aFam breeze.
Chocolate Cake Layers
- 1 cup plain flour or all-purpose flour
- 1/3 cup unsweetened cocoa powder (not Dutch processed)
- 3/4 teaspoon baking powder
- 3/4 teaspoon baking soda
- 1 cup white sugar
- 1/2 teaspoon kosher salt
- 1 large egg at room temperature
- 1/2 cup milk (preferably full fat) at room temperature
- 1/4 cup plain oil (vegetable, canola, or peanut oil)
- 1 teaspoon vanilla extract
- 1/2 cup boiling water
- 1 teaspoon instant coffee powder (optional, to boost the chocolate flavor without any coffee taste)
Chocolate Buttercream Frosting
- 250 grams (1 cup) unsalted butter, softened to room temperature
- 4 cups soft powdered (icing) sugar, sifted
- 1/2 cup unsweetened cocoa powder
- 1 teaspoon vanilla extract
- 5 tablespoons milk (preferably full fat)
Decorations (Optional)
- Dark or white chocolate shaved into curls or flakes
- Raspberries
- Rosemary sprigs
This lineup ensures your mini chocolate cakes turn out perfectly moist and full of that deep chocolate goodness. Remember, using the right measurements here is key to getting those layers just right for stacking and frosting.
How to Prepare the Perfect Mini Chocolate Cakes: Step-by-Step Guide
Okay, let’s dive into the fun part baking these mini chocolate cakes that are sure to wow everyone at your next get-together. With a yield of about 7 cakes, each 7 cm wide and three layers high, you’ll have plenty of that dreamy chocolate buttercream to make them extra special. This guide walks you through each step, so even if you’re new to baking, you’ll feel like a pro by the end.
Getting Started: Preheat and Prep
First, preheat your oven to 180°C (350°F) or 160°C if it’s fan-forced. Butter and line a 40 x 28.5 x 2.5 cm baking tray, like a jelly roll pan, to keep things from sticking later. For the cake layers, start by sifting and whisking together 1 cup plain flour, 1/3 cup unsweetened cocoa powder, 3/4 teaspoon baking powder, 3/4 teaspoon baking soda, 1 cup white sugar, and 1/2 teaspoon kosher salt in a large bowl.
Mixing the Batter
Next, add 1 large egg, 1/2 cup milk, 1/4 cup plain oil, and 1 teaspoon vanilla extract to the dry mix and whisk until combined. If you’re using it, dissolve 1 teaspoon instant coffee powder in 1/2 cup boiling water, then stir that in the batter will be thin, but that’s okay, as it helps with that moist texture. For any dietary swaps, like using plant-based milk for vegan options, add them here to keep things smooth.
Baking and Cooling
Pour the batter into your prepared tray and bake for 13 minutes, or until a toothpick comes out clean. Let it cool in the pan for 10 minutes, then transfer to a rack using the paper overhang. Cool for another 30 minutes on the paper, and pop it in the fridge uncovered for at least 1 hour. Before cutting, flip the cake upside down to avoid any sticking issues trust me, it’s a game-changer.
Cutting, Assembling, and Frosting
Now for the exciting bit: Use a 6 cm round cutter to get 21 circles from the cake, or cut into 3 equal rectangles if you want squares. Stack three layers per cake and pipe on the chocolate buttercream frosting in coils. To make the frosting, beat 250 grams softened unsalted butter on high for about 3 minutes until fluffy, then add 4 cups sifted powdered sugar gradually, followed by 1/2 cup cocoa powder, 5 tablespoons milk, and 1 teaspoon vanilla extract, beating for another 3 minutes.
For the best results, apply frosting around the sides and top with a piping bag, smoothing gently to keep crumbs at bay. Finally, decorate with shaved chocolate, raspberries, or rosemary sprigs. The whole process, including prep and baking, takes about 45 minutes, plus 1 to 4 hours for cooling and chilling it’s straightforward once you get going.
| Step | Time Estimate | Tips |
|---|---|---|
| Mixing and Baking | 15-20 minutes | Whisk gently to avoid overmixing |
| Cooling and Chilling | 1-2 hours | Refrigerate for easier cutting |
| Assembling and Frosting | 20-30 minutes | Use a piping bag for neat layers |

Dietary Substitutions to Customize Your Mini Chocolate Cakes
If you’re looking to tweak this mini chocolate cakes recipe for different needs, it’s easier than you think. Whether you’re going vegan or cutting calories, small swaps can make a big difference while keeping that rich taste intact. Let’s break it down so you can enjoy these cakes no matter your preferences.
Protein and Main Component Alternatives
- Replace eggs with flaxseed or chia seed gel for a vegan twist that still holds everything together nicely.
- Use applesauce or mashed bananas to add moisture and binding power, great for low-calorie versions that stay soft and flavorful.
Vegetable, Sauce, and Seasoning Modifications
- Incorporate grated zucchini or carrots to sneak in extra nutrients and keep the cakes moist without changing the chocolate vibe much.
- Swap regular cocoa powder with raw cacao for a bolder flavor that ramps up the health benefits.
- Try adding spices like cinnamon or chili powder to mix things up and give your mini chocolate cakes a unique kick.
Mastering Mini Chocolate Cakes: Advanced Tips and Variations
Once you’re comfortable with the basics, let’s amp up your mini chocolate cakes game with some pro moves and fun twists. Getting ingredients to room temperature before mixing helps everything blend smoothly for that perfect texture think light and airy instead of dense. You can experiment with flavors like adding espresso powder or orange zest to make each bite even more exciting.
- Sift dry ingredients through a sieve to avoid lumps and ensure even baking.
- For presentation, top with fresh berries or a light dusting of powdered sugar to make them look as good as they taste.
- Make ahead by prepping batter and storing it in the fridge for up to 24 hours, or freeze the baked cakes for quick treats later.
When it comes to variations, don’t hesitate to try chili flakes for a spicy edge it’s all about having fun in the kitchen!
How to Store Mini Chocolate Cakes: Best Practices
Keeping your mini chocolate cakes fresh is key to enjoying them later, and with their moist texture, it’s simple if you follow a few steps. Store them in an airtight container in the fridge for up to 4 days to lock in that chocolate goodness. For longer hold, wrap each one individually and freeze for up to 3 months it’s perfect for meal prep on busy days.
Thaw overnight in the fridge and reheat gently in the microwave or oven to keep the texture just right. And hey, if you have scraps, turn them into quick treats like rum balls for zero waste. Baking tips for beginners often include these storage hacks to make life easier.
FAQs: Frequently Asked Questions About Mini Chocolate Cakes
Can I make mini chocolate cakes gluten free?
Yes, you can make mini chocolate cakes gluten free by replacing the all-purpose flour with a gluten-free flour blend designed for baking. Use a one-to-one gluten-free flour substitute to maintain the texture. Keep in mind that some blends may require additional binding agents like xanthan gum if not already included. Adjust baking times slightly as gluten-free batters can behave differently during baking.
Is it necessary to add hot water if I don’t use coffee in the recipe?
Yes, adding hot water is important even if you skip the coffee. The hot water helps dissolve the cocoa and intensifies the chocolate flavor while contributing to the cake’s moist texture. You can simply use hot water as a replacement without affecting the overall outcome.
How should I store mini chocolate cakes to keep them fresh?
After the cakes have completely cooled, cover the top with parchment paper to prevent sticking and wrap them tightly with cling wrap. Store the mini cakes in the refrigerator where they will remain fresh for up to five days. For longer storage, you can freeze assembled cakes for up to three months.
Can I make mini chocolate cakes in shapes other than rounds?
Yes. Instead of cutting rounds, you can slice the baked cake into three equal rectangles, frost and stack them, chill to set the frosting, then cut into squares or rectangles. This method reduces cake waste and simplifies assembly while allowing you to frost the sides evenly.
Do I need special tools like a piping bag to frost mini chocolate cakes?
While a piping bag is the easiest way to frost mini cakes neatly and avoid crumbs, you don’t necessarily need one. A ziplock freezer bag with a corner cut off works well as an alternative. You can also use a small spatula or butter knife for spreading frosting if you prefer.
Mini Chocolate Cakes
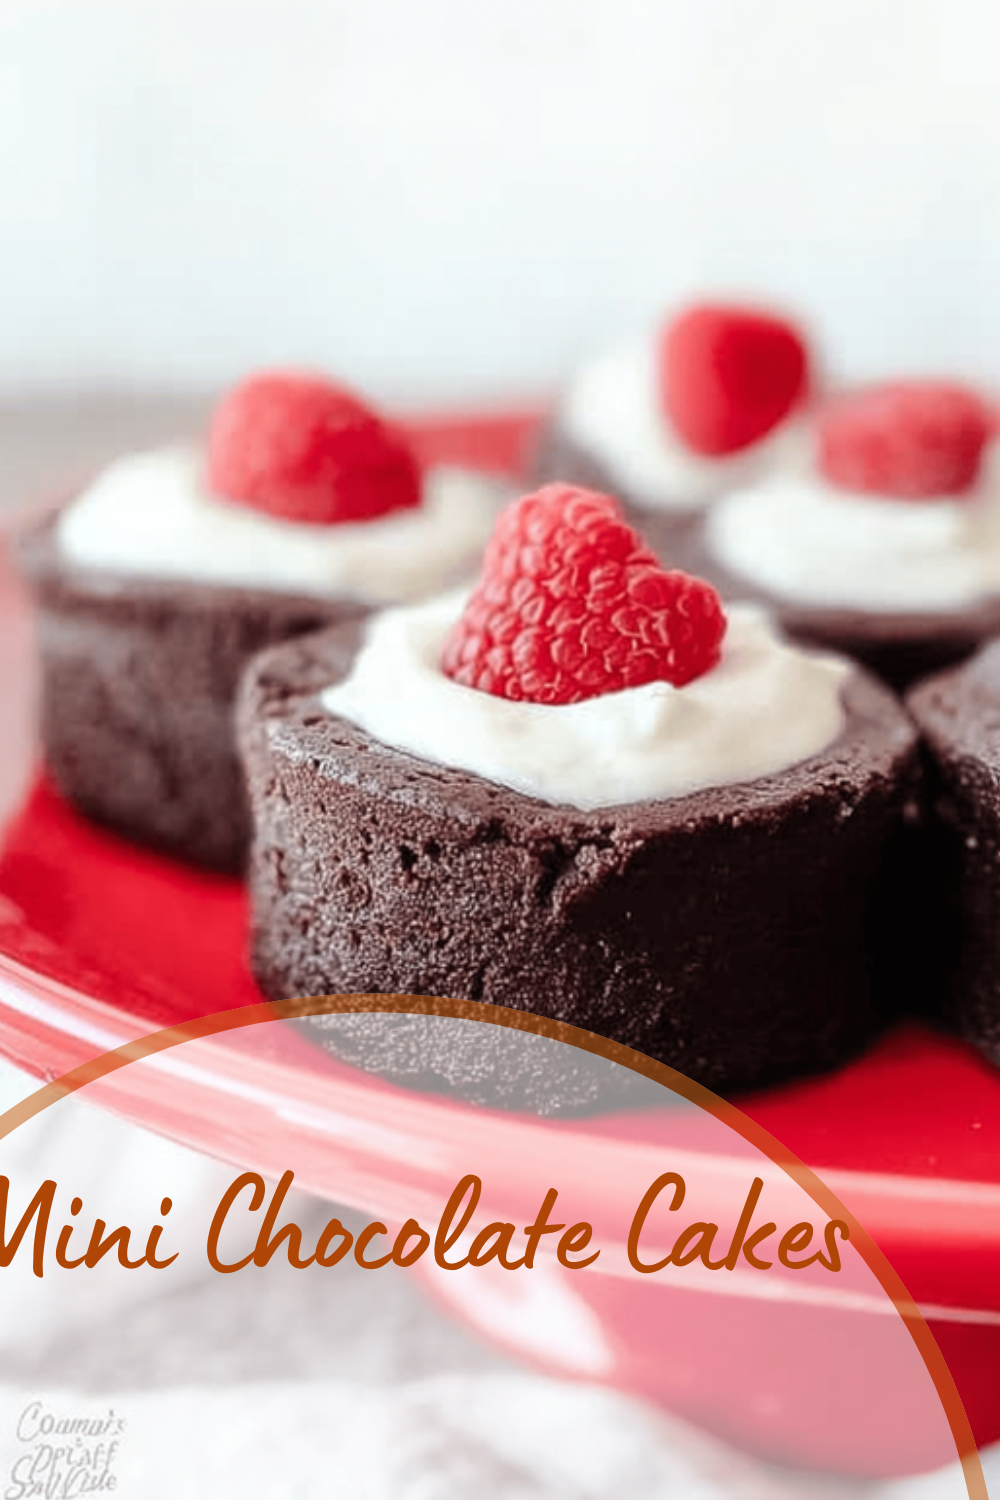
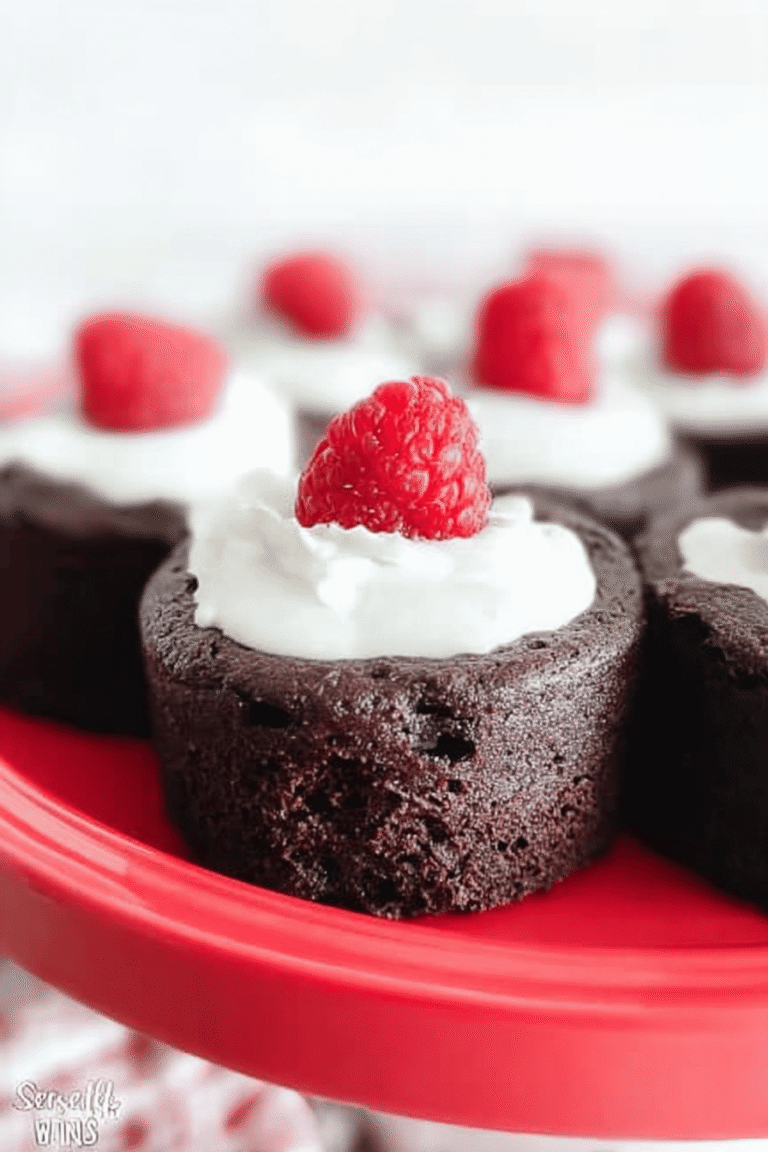
🍫 These Mini Chocolate Cakes offer perfectly rich, indulgent small desserts ideal for special occasions.
🎂 Featuring moist layers and luscious chocolate buttercream, they deliver a high frosting-to-cake ratio for maximum enjoyment.
- Total Time: 1 hour 43 minutes
- Yield: 7 mini cakes (21 layers) 1x
Ingredients
1 cup plain flour or all-purpose flour
1/3 cup unsweetened cocoa powder (not Dutch processed)
3/4 teaspoon baking powder
3/4 teaspoon baking soda
1 cup white sugar
1/2 teaspoon kosher salt
1 large egg at room temperature
1/2 cup milk (preferably full fat) at room temperature
1/4 cup plain oil (vegetable, canola, or peanut oil)
1 teaspoon vanilla extract
1/2 cup boiling water
1 teaspoon instant coffee powder (optional, to boost the chocolate flavor without any coffee taste)
250 grams (1 cup) unsalted butter, softened to room temperature
4 cups soft powdered (icing) sugar, sifted
1/2 cup unsweetened cocoa powder
1 teaspoon vanilla extract
5 tablespoons milk (preferably full fat)
Dark or white chocolate shaved into curls or flakes
Raspberries
Rosemary sprigs
Instructions
1-Getting Started: Preheat and Prep: First, preheat your oven to 180°C (350°F) or 160°C if it’s fan-forced. Butter and line a 40 x 28.5 x 2.5 cm baking tray, like a jelly roll pan, to keep things from sticking later. For the cake layers, start by sifting and whisking together 1 cup plain flour, 1/3 cup unsweetened cocoa powder, 3/4 teaspoon baking powder, 3/4 teaspoon baking soda, 1 cup white sugar, and 1/2 teaspoon kosher salt in a large bowl.
2-Mixing the Batter: Next, add 1 large egg, 1/2 cup milk, 1/4 cup plain oil, and 1 teaspoon vanilla extract to the dry mix and whisk until combined. If you’re using it, dissolve 1 teaspoon instant coffee powder in 1/2 cup boiling water, then stir that in the batter will be thin, but that’s okay, as it helps with that moist texture. For any dietary swaps, like using plant-based milk for vegan options, add them here to keep things smooth.
3-Baking and Cooling: Pour the batter into your prepared tray and bake for 13 minutes, or until a toothpick comes out clean. Let it cool in the pan for 10 minutes, then transfer to a rack using the paper overhang. Cool for another 30 minutes on the paper, and pop it in the fridge uncovered for at least 1 hour. Before cutting, flip the cake upside down to avoid any sticking issues trust me, it’s a game-changer.
4-Cutting, Assembling, and Frosting: Now for the exciting bit: Use a 6 cm round cutter to get 21 circles from the cake, or cut into 3 equal rectangles if you want squares. Stack three layers per cake and pipe on the chocolate buttercream frosting in coils. To make the frosting, beat 250 grams softened unsalted butter on high for about 3 minutes until fluffy, then add 4 cups sifted powdered sugar gradually, followed by 1/2 cup cocoa powder, 5 tablespoons milk, and 1 teaspoon vanilla extract, beating for another 3 minutes.
5-Frosting Application and Decoration: For the best results, apply frosting around the sides and top with a piping bag, smoothing gently to keep crumbs at bay. Finally, decorate with shaved chocolate, raspberries, or rosemary sprigs. The whole process, including prep and baking, takes about 45 minutes, plus 1 to 4 hours for cooling and chilling it’s straightforward once you get going.
Last Step:
Please leave a rating and comment letting us know how you liked this recipe! This helps our business to thrive and continue providing free, high-quality recipes for you.Notes
🍰 Use oil in the batter to keep sponge moist, as mini cakes dry quickly.
☕ Instant coffee powder enhances chocolate flavor without coffee taste.
🔄 Flip cake before cutting to prevent sticking during cutting.
🎂 Pipe frosting directly onto layers to avoid crumbs; no crumb coat needed.
❄️ Refrigerate frosted layers before cutting for neat edges if making square cakes.
- Prep Time: 30 minutes
- Cooling and Chilling Time: 1 to 4 hours
- Cook Time: 13 minutes
- Category: Dessert
- Method: Baking and Assembling
- Cuisine: American
- Diet: Vegetarian
Nutrition
- Serving Size: 1 mini cake