
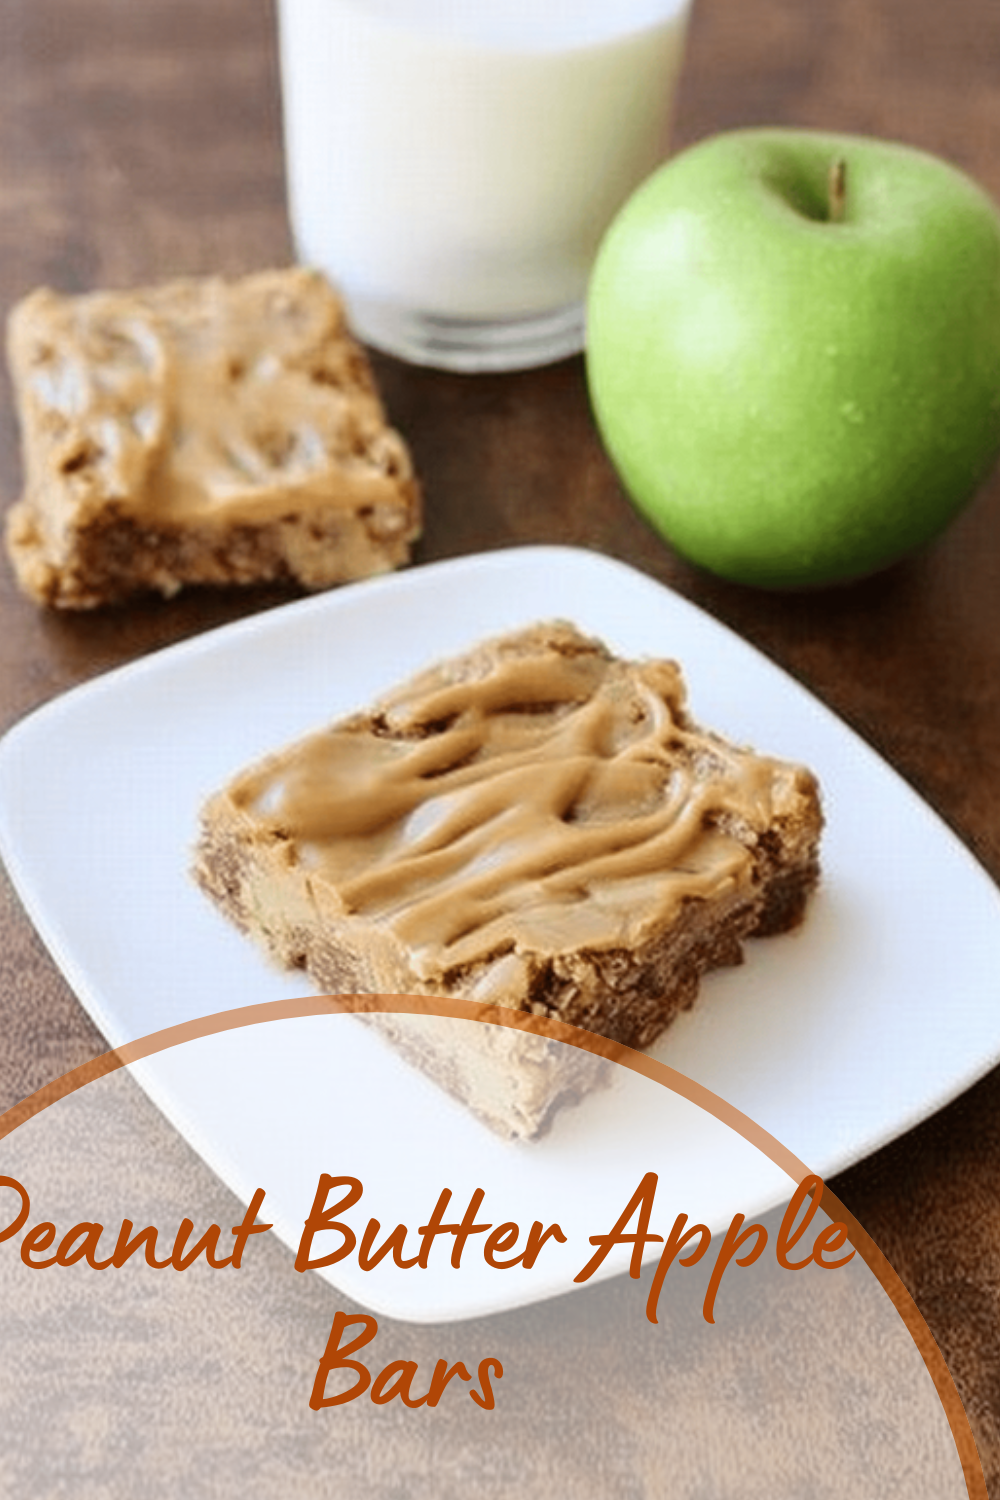
Why You’ll Love This Peanut Butter Apple Bars
There’s something truly special about whipping up a batch of peanut butter apple bars that hits the spot for a quick snack. Picture this: you’re in the kitchen, the aroma of fresh apples and peanut butter filling the air, and in just a short time, you have a treat that’s both satisfying and easy to make. These bars combine the creamy goodness of peanut butter with the crisp tartness of apples, creating a snack that’s perfect for busy days when you need something nutritious without a lot of fuss.
One reason you’ll adore these peanut butter apple bars is how simple they are to prepare. With just a few basic ingredients and steps, you can have them ready in under an hour, making them ideal for busy parents or students on the go. They pack in some great health perks too, like fiber from the apples and protein from the peanut butter, which helps keep you energized throughout the day. Plus, they’re versatile enough to tweak for different dietary needs, so everyone in the family can enjoy them.
Let me share a quick story I remember the first time I made these for a family gathering, and they vanished in minutes! The combination of flavors is just so inviting, and it’s that mix of sweet and nutty that makes them stand out. Whether you’re a baking newbie or a pro, this recipe is straightforward and forgiving, turning ordinary ingredients into something memorable. That’s why I think these bars will quickly become a favorite in your home.
Beyond the taste, these bars offer a fun way to sneak in some fruit, especially if you have kids who aren’t always excited about apples on their own. You can easily adapt them by swapping in different flours or sweeteners, keeping things fresh and exciting. Overall, it’s the perfect blend of ease, nutrition, and flavor that makes this recipe a winner for anyone looking for a wholesome treat.
Jump to:
- Why You’ll Love This Peanut Butter Apple Bars
- Essential Ingredients for Peanut Butter Apple Bars
- How to Prepare the Perfect Peanut Butter Apple Bars: Step-by-Step Guide
- Dietary Substitutions to Customize Your Peanut Butter Apple Bars
- Mastering Peanut Butter Apple Bars: Advanced Tips and Variations
- How to Store Peanut Butter Apple Bars: Best Practices
- FAQs: Frequently Asked Questions About Peanut Butter Apple Bars
- How do I make peanut butter apple bars from scratch?
- What type of apples work best for peanut butter apple bars?
- Can I make peanut butter apple bars gluten-free?
- How should I store peanut butter apple bars to keep them fresh?
- Are peanut butter apple bars a healthy snack option?
- Peanut Butter Apple Bars
- Ingredients
- Instructions
- Last Step:
- Notes
- Nutrition
- Did you make this recipe?
Essential Ingredients for Peanut Butter Apple Bars
Gathering the right ingredients is the first step to creating delicious peanut butter apple bars that everyone will love. These bars rely on a mix of pantry staples and fresh produce to deliver that perfect chewy texture and sweet-nutty flavor. Let’s break it down so you know exactly what to grab before you start baking.
In the additional details shared, here’s a comprehensive list of all the ingredients needed for this recipe. I’ve listed them out clearly with their precise measurements to make it easy for you to follow along:
- 1/2 cup melted and cooled butter
- 3/4 cup brown sugar
- 1/2 cup sugar
- 2 eggs
- 1 1/2 teaspoons vanilla extract
- 1/2 cup natural creamy peanut butter
- 2 cups white whole wheat or all-purpose flour
- 1 1/2 teaspoons baking powder
- 1/2 teaspoon baking soda
- 1/2 teaspoon salt
- 1 1/2 cups shredded apples
These ingredients come together to make the bars moist and flavorful, with shredded apples adding that extra touch of natural sweetness and moisture. When you use fresh shredded apples, they help distribute the flavor evenly throughout the bars, making every bite delightful.
How to Prepare the Perfect Peanut Butter Apple Bars: Step-by-Step Guide
Getting ready to bake these peanut butter apple bars is as fun as eating them! Start by preheating your oven to 350°F (175°C) and greasing a 9×9 or 9×13 inch baking dish to ensure nothing sticks. This simple step sets the stage for a smooth baking process that won’t leave you with a mess.
Once your oven is heating up, beat the 1/2 cup melted and cooled butter with 3/4 cup brown sugar and 1/2 cup sugar in a large bowl until they’re well combined and fluffy. Then, add in 2 eggs, 1 1/2 teaspoons vanilla extract, and 1/2 cup natural creamy peanut butter, mixing everything until it’s nice and smooth. In another bowl, whisk together 2 cups white whole wheat or all-purpose flour, 1 1/2 teaspoons baking powder, 1/2 teaspoon baking soda, and 1/2 teaspoon salt.
Now, combine the dry ingredients with the wet mixture and stir just until everything is blended don’t overmix to keep the bars tender. Gently fold in 1 1/2 cups shredded apples to add that wonderful moisture and flavor throughout. Spread the batter evenly in your prepared dish and pop it in the oven.
Bake for 20-25 minutes if you’re using a 9×13 pan, or 25-30 minutes for a 9×9 pan, until the top is lightly golden and a toothpick inserted comes out mostly clean. Once done, let the bars cool on a wire rack before cutting them into squares. Preparation only takes about 10-15 minutes, plus the baking time, so you can enjoy these treats in no time.

Dietary Substitutions to Customize Your Peanut Butter Apple Bars
One of the best things about peanut butter apple bars is how easy it is to make them fit your needs. If you’re looking to switch things up, you can try different options for the main ingredients while keeping that delicious core flavor. For example, if peanut butter isn’t your thing, almond butter or sunflower seed butter can step in for a fun twist.
Protein and Main Component Alternatives: Consider using almond butter, cashew butter, or sunflower seed butter as alternatives to peanut butter for varied flavors or to accommodate nut allergies. For extra protein, add plant-based protein powder or chopped nuts.
For the apples, you might swap them with pears or even grated zucchini if you’re feeling adventurous, which changes the texture a bit but keeps the bars moist. When it comes to seasonings, play around with adding a dash of cinnamon or nutmeg to enhance the warmth. These tweaks let you enjoy the bars year-round with seasonal ingredients.
Mastering Peanut Butter Apple Bars: Advanced Tips and Variations
Once you’re comfortable with the basic recipe, it’s time to get creative and make these peanut butter apple bars even better. Pressing the mixture firmly into the pan helps ensure an even bake, and letting the batter rest for a few minutes can improve the texture. If you want crispier edges, try broiling for just a minute or two at the end but keep an eye on it!
For flavor variations, mix in things like chopped dark chocolate or dried cranberries to add a little surprise in every bite. Presentation is key too; drizzle some melted peanut butter on top or add thin apple slices for a polished look that impresses your friends. And for meal prep ideas like this one, prepare the mixture ahead and refrigerate it overnight to let the flavors meld.
You can also freeze the unbaked bars for a quick bake later, which is perfect for busy weeks. These tips not only make the bars tastier but also help you customize them for any occasion, whether it’s a family snack or a party treat.
How to Store Peanut Butter Apple Bars: Best Practices
Keeping your peanut butter apple bars fresh is easy with the right storage methods. After they’ve cooled completely, pop them into an airtight container and store them in the fridge for up to 5 days to keep that chewy texture. If you want them to last longer, freezing is a great option wrap them tightly and they can stay good for up to 3 months.
When you’re ready to eat them, thaw in the fridge overnight and warm them up in the microwave or oven for that fresh-baked feel. For meal prep, these bars are fantastic because you can make a big batch and portion them out for snacks throughout the week. Just remember, proper storage helps maintain their flavor and moisture so they taste as good as when they came out of the oven.
FAQs: Frequently Asked Questions About Peanut Butter Apple Bars
How do I make peanut butter apple bars from scratch?
To make peanut butter apple bars, start by preheating your oven to 350°F (175°C). Mix 1 cup of rolled oats, ½ cup of whole wheat flour, ½ teaspoon baking soda, and a pinch of salt in one bowl. In another bowl, combine ½ cup peanut butter, ¼ cup honey or maple syrup, 1 large egg, and 1 teaspoon vanilla extract. Fold in 1 cup finely chopped or grated apples. Combine the wet and dry ingredients until just mixed. Spread the mixture evenly in a greased 8×8-inch baking pan and bake for 20-25 minutes until golden brown. Let cool before cutting into bars. This method offers a simple, wholesome snack packed with natural flavors.
What type of apples work best for peanut butter apple bars?
Crisp, slightly tart apples like Granny Smith, Honeycrisp, or Fuji are ideal for peanut butter apple bars. Their firm texture holds up well during baking, preventing the bars from becoming too mushy. Additionally, the tartness balances the richness of peanut butter, adding a pleasant flavor contrast. Avoid very soft or overly sweet apples like Red Delicious, which may release too much juice and make the bars soggy.
Can I make peanut butter apple bars gluten-free?
Yes, you can make gluten-free peanut butter apple bars by substituting regular whole wheat flour with almond flour, oat flour (ensure it’s certified gluten-free), or a gluten-free flour blend. Using gluten-free oats is also important if oats are included. These alternatives maintain texture and taste while keeping the bars safe for those with gluten intolerance or celiac disease. Baking times may vary slightly, so watch the bars closely to avoid overbaking.
How should I store peanut butter apple bars to keep them fresh?
Store peanut butter apple bars in an airtight container at room temperature for up to 2 days. For longer freshness, keep them refrigerated for up to one week. If you want to store them for even longer, wrap individual bars in plastic wrap and freeze them in a sealed bag for up to 3 months. Thaw in the refrigerator or at room temperature before eating. Proper storage helps maintain moisture and flavor while preventing spoilage.
Are peanut butter apple bars a healthy snack option?
Peanut butter apple bars can be a healthy snack when made with wholesome ingredients. They provide a good source of protein and healthy fats from peanut butter, natural sweetness and fiber from apples, and complex carbohydrates from oats or whole wheat flour. To keep them nutritious, avoid adding refined sugars or excess fats. These bars offer balanced energy and can be a satisfying snack for kids and adults alike, especially when paired with a glass of milk or a serving of fruit.
Peanut Butter Apple Bars
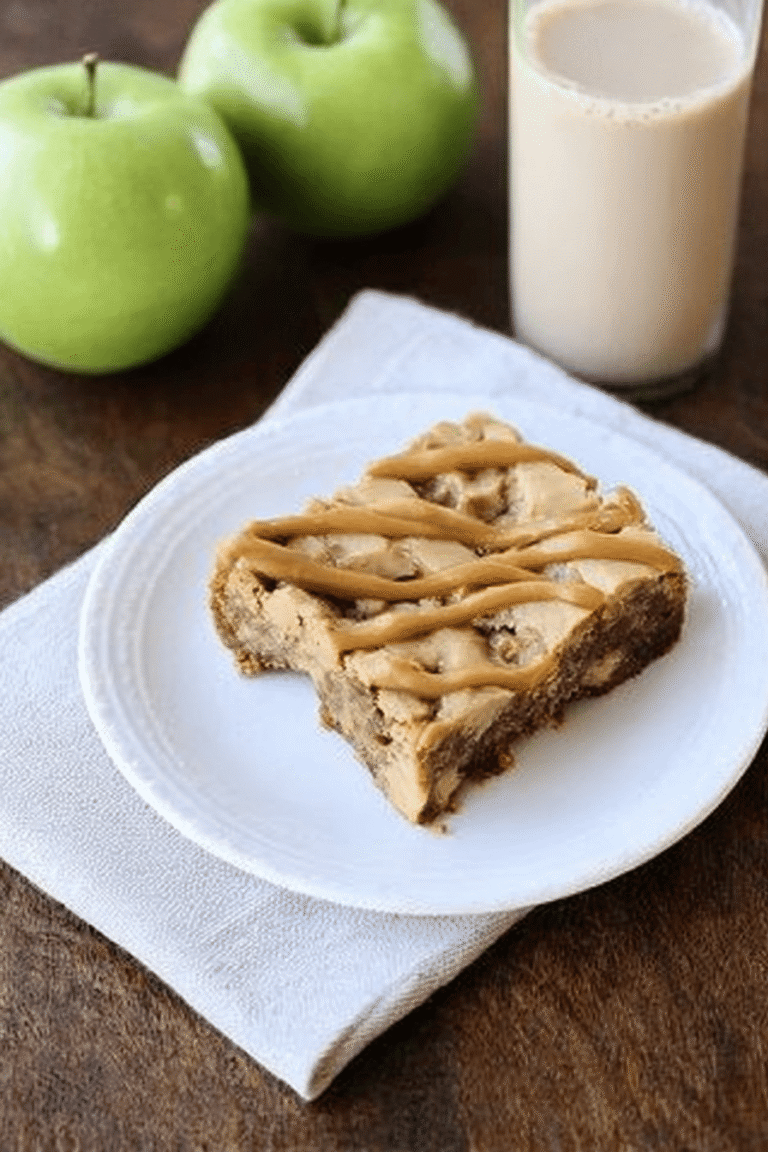
🥜 These Chewy Peanut Butter Apple Bars combine sweet and nutty flavors with the natural moisture of shredded apples for a delicious snack.
🍎 They offer a satisfying texture and balanced taste that’s perfect for a quick energy boost or dessert.
- Total Time: 45 minutes
- Yield: 12 bars
Ingredients
– 1/2 cup melted and cooled butter
– 3/4 cup brown sugar
– 1/2 cup sugar
– 2 eggs
– 1 1/2 teaspoons vanilla extract
– 1/2 cup natural creamy peanut butter
– 2 cups white whole wheat or all-purpose flour
– 1 1/2 teaspoons baking powder
– 1/2 teaspoon baking soda
– 1/2 teaspoon salt
– 1 1/2 cups shredded apples
Instructions
1-Getting ready to bake: Start by preheating your oven to 350°F (175°C) and greasing a 9×9 or 9×13 inch baking dish to ensure nothing sticks. This simple step sets the stage for a smooth baking process that won’t leave you with a mess.
2-Prepare wet ingredients: Once your oven is heating up, beat the 1/2 cup melted and cooled butter with 3/4 cup brown sugar and 1/2 cup sugar in a large bowl until they’re well combined and fluffy. Then, add in 2 eggs, 1 1/2 teaspoons vanilla extract, and 1/2 cup natural creamy peanut butter, mixing everything until it’s nice and smooth. In another bowl, whisk together 2 cups white whole wheat or all-purpose flour, 1 1/2 teaspoons baking powder, 1/2 teaspoon baking soda, and 1/2 teaspoon salt.
3-Combine dry and wet ingredients: Now, combine the dry ingredients with the wet mixture and stir just until everything is blended don’t overmix to keep the bars tender. Gently fold in 1 1/2 cups shredded apples to add that wonderful moisture and flavor throughout. Spread the batter evenly in your prepared dish and pop it in the oven.
4-Bake: Bake for 20-25 minutes if you’re using a 9×13 pan, or 25-30 minutes for a 9×9 pan, until the top is lightly golden and a toothpick inserted comes out mostly clean. Once done, let the bars cool on a wire rack before cutting them into squares. Preparation only takes about 10-15 minutes, plus the baking time, so you can enjoy these treats in no time.
Last Step:
Please leave a rating and comment letting us know how you liked this recipe! This helps our business to thrive and continue providing free, high-quality recipes for you.Notes
🍎 Use freshly shredded apples for optimum moisture and flavor.
🥄 Be careful not to overmix the batter to keep bars chewy.
⏰ Check doneness with a toothpick to avoid overbaking, which can dry out the bars.
- Prep Time: 15 minutes
- Cook Time: 30 minutes
- Category: Snack
- Method: Baking
- Cuisine: American
Nutrition
- Serving Size: 1 bar