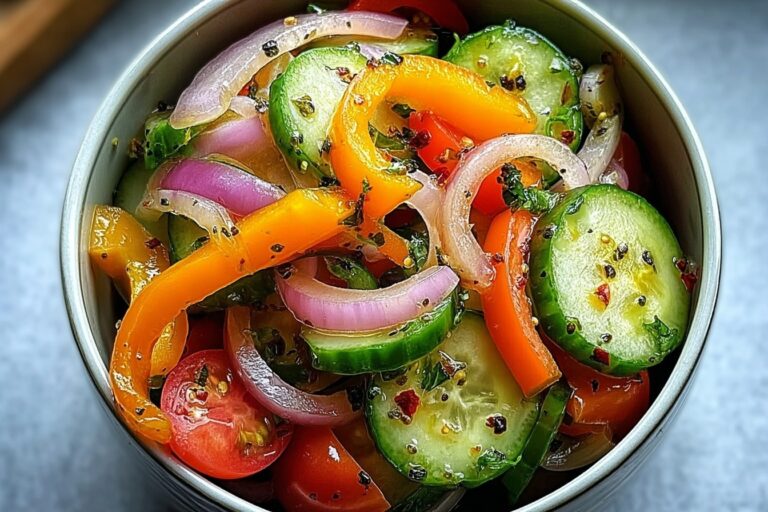
Ingredients
– 2 large cucumbers, sliced
– 1 onion, thinly sliced
– 1 bell pepper, sliced
– 1 cup vinegar
– 1/2 cup water
– 2 tablespoons sugar
– 1 teaspoon salt
Instructions
1-First Step: Prepare the vegetablesStart by washing the cucumbers, onion, and bell pepper well. Slice the cucumbers into thin rounds or half-moons, depending on your preference. Thinly slice the onion so it softens evenly in the brine. Slice the bell pepper into narrow strips or small pieces. Uniform pieces help the vegetables pickle at the same rate, which gives you a better texture in the finished salad.
2-Second Step: Mix the brineTake a medium bowl and add 1 cup vinegar, 1/2 cup water, 2 tablespoons sugar, and 1 teaspoon salt. Stir until the sugar and salt dissolve as much as possible. The liquid should taste sharp, slightly sweet, and well balanced. If you want a sweeter result, you can add a small amount more sugar. If you prefer a stronger tang, keep the recipe as written.
3-Third Step: Combine the vegetables with the brineAdd the sliced cucumbers, onion, and bell pepper to the bowl with the liquid. Stir gently so every piece gets coated. Make sure the vegetables are mostly submerged. If needed, press them lightly with a spoon so the brine reaches all the surfaces. This step is what starts the pickling process and gives the salad its crisp, tangy taste.
4-Fourth Step: Chill the saladCover the bowl and place it in the refrigerator for at least 1 hour. This is the minimum chilling time for the vegetables to take on flavor. If you have more time, let it sit a little longer for a stronger pickled taste. The salad will still stay crisp because the vegetables are not cooked. That makes this recipe a good fit for hot days, packed lunches, and quick dinners.
5-Final Step: Serve and enjoyAfter chilling, give the salad a quick stir and taste the brine. If needed, add a small pinch more sugar or salt before serving. Transfer the salad to a serving bowl or use it straight from the container. It pairs well with grilled chicken, sandwiches, rice bowls, burgers, and barbecue plates. For a simple weeknight meal, serve it next to roasted potatoes or baked fish. If you are hosting a party, it works well as a cold side dish that can be made ahead.
Last Step:
Please leave a rating and comment letting us know how you liked this recipe! This helps our business to thrive and continue providing free, high-quality recipes for you.Notes
🥒 Use a mandoline for paper-thin slices that pickle faster and stay extra crisp.
🍯 Adjust sugar or add red pepper flakes to customize sweetness and heat to your taste.
⏰ Make ahead – flavors improve after 24 hours and lasts up to 1 week in the fridge.
- Prep Time: 15 minutes
- Chill Time: 1 hour
- Cook Time: 5 minutes
- Category: Salad
- Method: Pickling
- Cuisine: American
- Diet: Vegan
Nutrition
- Serving Size: 1 cup
- Calories: 50 kcal
- Sugar: 10g
- Sodium: 400mg
- Fat: 0g
- Saturated Fat: 0g
- Unsaturated Fat: 0g
- Trans Fat: 0g
- Carbohydrates: 12g
- Fiber: 2g
- Protein: 1g
- Cholesterol: 0mg