Ingredients
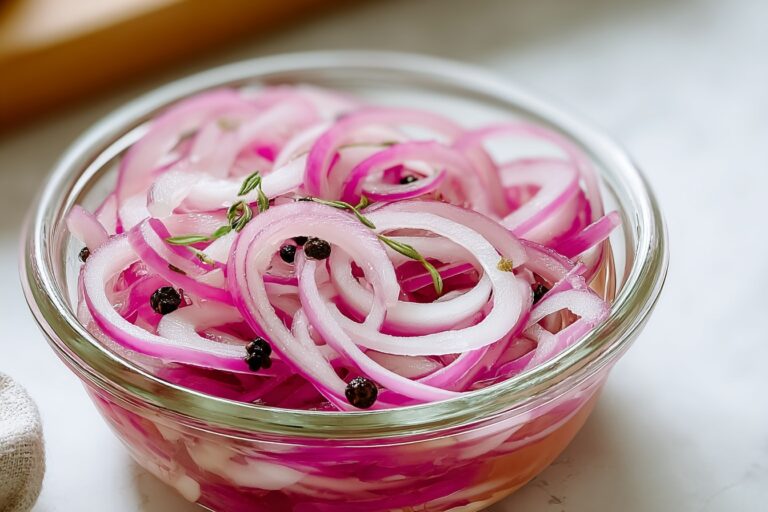
– 2 small red onions for giving the recipe its color, crunch, and mild onion flavor
– 2 cups white vinegar for creating the tangy pickling base
– 2 cups water for balancing the acidity
– 1/3 cup cane sugar for softening the sharp bite
– 2 tablespoons sea salt for seasoning and brine support
– 2 cloves, optional garlic cloves for adding savory depth
– 1 teaspoon, optional peppercorns for adding gentle spice
Instructions
1-First Step: Slice the onions Start by peeling the 2 small red onions and cutting them into thin, even slices. If you have a mandoline, this is the moment to use it, because uniform slices pickle faster and look nicer in the jar. If you are using a knife, take your time and aim for thin slices so the onions soften evenly. Divide the sliced onions between 2 or 3 clean jars. Wide-mouth pint or half-pint mason jars work really well because they are easy to pack, clean, and store in the fridge. If you are making these for a party or meal prep, smaller jars can help with portion control and keep the onions fresher longer once opened.
2-Second Step: Add optional flavor boosters If you want a little extra flavor, add 2 garlic cloves and 1 teaspoon peppercorns to the jars. These are optional, but they give the brine a deeper, more layered taste. This is also where you can play around with other spices if you like, such as mustard seeds or a small pinch of chili flakes. For people who prefer very clean, classic pickles, you can skip the add-ins and stick to the basic brine. That version is crisp, bright, and perfect for everything from tacos to grain bowls.
3-Third Step: Make the brine Place a medium pot over medium heat and add 2 cups white vinegar, 2 cups water, 1/3 cup cane sugar, and 2 tablespoons sea salt. Stir the mixture as it heats. After about 1 minute, the sugar and salt should fully dissolve. You do not need to boil it hard. A gentle heat is enough. The goal is just to warm the liquid so the sugar and salt disappear into the brine. This quick step helps the onions start softening right away once the liquid goes into the jars.
4-Fourth Step: Pour and cool Let the brine cool slightly before pouring it over the onions. It should still be warm, but not scalding hot. Carefully pour the liquid into each jar until the onions are fully covered. If the onions float, press them down with a clean spoon so they stay under the brine as much as possible. Once the jars are filled, leave them at room temperature until they cool down completely. Then cover them and move them to the refrigerator. This cooling step helps keep the jars safe and gives the onions time to finish pickling properly.
5-Final Step: Wait, taste, and serve These onions can be ready in as little as 1 hour if you slice them very thin. If your slices are thicker, let them sit overnight for the best texture and color. You will know they are ready when they look bright pink and feel tender with a little bite left in the center. Once they are ready, scoop them onto tacos, sandwiches, burgers, salads, or bowls. The flavor is tangy, sweet, and just sharp enough to wake up rich or creamy foods. Keep the jars refrigerated and use them within 2 weeks for the best taste.
Last Step:
Please leave a rating and comment letting us know how you liked this recipe! This helps our business to thrive and continue providing free, high-quality recipes for you.Notes
🔪 Use mandoline slicer for ultra-thin, uniform onions that pickle fastest.
🍶 Experiment: Swap half white vinegar for apple cider or rice vinegar.
⏳ Taste after 1 hour—flavors peak overnight but usable immediately.
- Prep Time: 5 minutes
- Marinate: 1 hour
- Cook Time: 5 minutes
- Category: Condiment
- Method: Pickling
- Cuisine: American
- Diet: Vegan, Gluten-Free
Nutrition
- Serving Size: 2 tablespoons
- Calories: 20 kcal
- Sugar: 4g
- Sodium: 500mg
- Fat: 0g
- Saturated Fat: 0g
- Unsaturated Fat: 0g
- Trans Fat: 0g
- Carbohydrates: 5g
- Fiber: 0g
- Protein: 0g
- Cholesterol: 0mg