Ingredients
– 2 large flour tortillas The base for encasing fillings and melting cheese
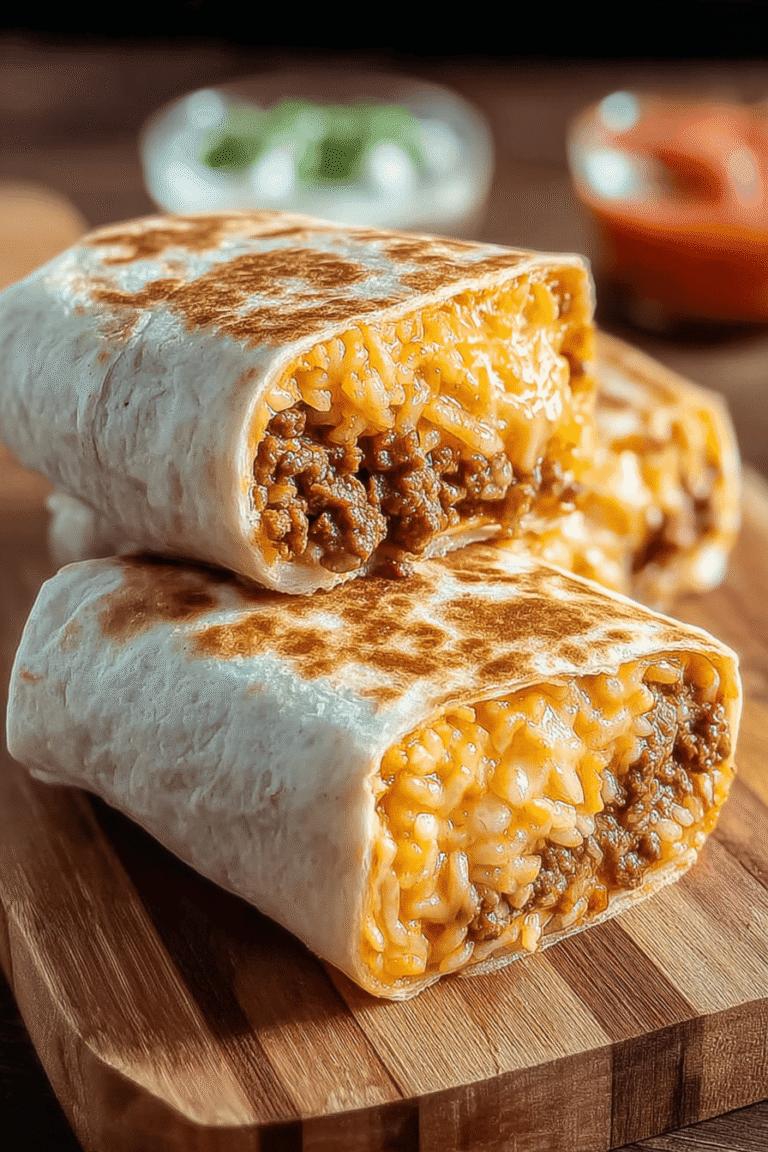
– 1 cup cooked seasoned ground beef or alternative protein like steak, chicken, or beans Provides the main savory element as per customization options
– 1 cup shredded cheese (cheddar or Mexican blend) Adds creaminess; this includes melted cheeses as noted for the grilled quesadilla
– 1/2 cup cooked rice (premium Latin rice recommended) Boosts texture and makes the dish more filling
– 1/4 cup sour cream (reduced-fat version for a lighter twist) Enhances creaminess and balances the flavors
– 2 tablespoons salsa Brings a fresh, tangy kick to the overall mix
– Chipotle sauce (amount as needed for drizzling) Adds a smoky, spicy element during assembly
– Nacho cheese sauce (amount as needed) Contributes to the cheesy filling for that authentic fusion taste
Instructions
1-Prepare all ingredients: by cooking and seasoning the protein and rice, shredding the cheese, and warming the tortillas.
2-Heat a non-stick skillet: over medium heat and place a tortilla on the pan.
3-Sprinkle a layer of shredded cheese: evenly over the tortilla and allow it to melt slightly, incorporating melted cheeses and nacho cheese sauce as key components.
4-Add a generous scoop of the cooked protein, rice, salsa, Chipotle sauce, and sour cream: onto the melted cheese for that signature filling.
5-Fold the edges of the tortilla over the filling and carefully flip to crisp the other side, ensuring the cheese helps hold it together like in the original burrito-style roll.
6-Cook each side for 2-3 minutes: until the tortilla is golden brown and crispy.
7-Remove from heat and let it rest: for a minute before slicing. For a perfect pairing, check out our margarita recipe on the blog to complement this dish.
Last Step:
Please leave a rating and comment letting us know how you liked this recipe! This helps our business to thrive and continue providing free, high-quality recipes for you.Notes
🍴 Customize the protein by swapping beef with steak, chicken, or beans to suit dietary preferences.
🌮 For a crispy finish, grill the rolled quesarito lightly before serving.
🥚 Try a breakfast version by filling with scrambled eggs, cheese, and breakfast meats for a hearty start to the day.
- Category: Main Dish
- Method: Grilling and assembling
- Cuisine: Mexican Fusion
- Diet: Non-vegetarian
Nutrition
- Serving Size: 1 quesarito