Ingredients
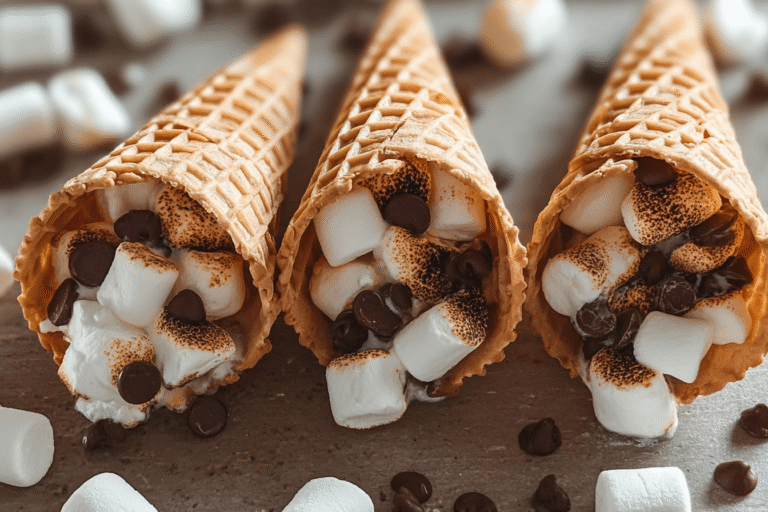
– 8 large waffle or sugar cones Forms the sturdy, edible holder that crisps during heating and contains all fillings
– 2 cups mini marshmallows Melts quickly into gooey texture; minis prevent large bubbles and uneven cooking
– 2 cups chocolate chips or 4-6 Hershey bars (broken) Provides creamy melt; chips distribute evenly, bars offer classic chunks
– 1-1.5 cups crushed graham crackers Base layer adds crunch and soaks up minimal moisture to keep cone firm
– Foil sheets (12×12 inches, 8 sheets) Seals heat and prevents leaks; heavy-duty holds up over flames
– 1/2 cup peanut butter (optional) Boosts protein and nutty flavor; spoonable for creamy layer
– Sliced strawberries (optional) Adds fresh fruit tang and moisture balance
– Bananas, sliced (optional) Brings natural sweetness and pairs with chocolate
– Reeses pieces (optional) Extra peanut butter chocolate burst
– Crushed pretzels (optional) Introduces salty crunch against sweet
Instructions
1-First Step: Set up your campfire with a good bed of medium coals, not roaring flames, for even heat. Lay out 8 foil sheets and ingredients nearby. Crush graham crackers by placing in a ziplock bag and smashing with a cup or rock, this mise en place keeps things smooth even in the woods.
2-Second Step: Stand cones upright in a mug or box for stability. Sprinkle 2-3 tablespoons crushed graham crackers into each bottom, creating a barrier against sogginess. Layer 1-2 tablespoons chocolate chips or broken Hershey pieces next, then fill the rest with about 1/2 cup mini marshmallows. For dietary tweaks, use vegan chocolate here or add gluten-free crackers.
3-Third Step: Customize with optional add-ins like a teaspoon peanut butter, banana slices, or strawberries. Pack loosely to allow air pockets for melting; overstuffing leads to spills. This step shines for versatility, letting busy parents sneak in fruit for kids or nut-free options for allergies.
4-Fourth Step: Cover the open end with foil, folding down sides tightly and twisting the top like a tootsie roll to seal. Double-wrap if winds are strong. Place seam-side up on a grill grate over coals, keeping 4-6 inches from heat source.
5-Fifth Step: Cook 5-8 minutes, rotating cones every 2 minutes with tongs for even melt. Peek inside one by loosening foil top; chocolate should be soft, marshmallows puffed and golden. Adjust time for cooler nights, adding 1-2 minutes. This method works for camping desserts at any skill level.
6-Final Step: Remove with tongs, let cool 1-2 minutes on a log or plate. Unwrap foil partially and dig in from the wide end. Serves 6-8, pairs great with hot cocoa. Pro tip: sturdy cones hold shape best.
Last Step:
Please leave a rating and comment letting us know how you liked this recipe! This helps our business to thrive and continue providing free, high-quality recipes for you.Notes
🔥 Prepare all ingredients at home in separate bags for easy assembly at the campsite
🌟 For extra flavor, drizzle with caramel or chocolate sauce before serving
🥗 If camping with kids, let them customize their own cones with their favorite toppings
- Prep Time: 10 minutes
- Cooling time: 3 minutes
- Cook Time: 8 minutes
- Category: Dessert
- Method: Campfire Cooking
- Cuisine: American
Nutrition
- Serving Size: 1 cone
- Calories: 320
- Sugar: 28g
- Sodium: 180mg
- Fat: 12g
- Saturated Fat: 7g
- Unsaturated Fat: 4g
- Trans Fat: 0g
- Carbohydrates: 45g
- Fiber: 2g
- Protein: 4g
- Cholesterol: 5mg