Ingredients
– 1 quart (16 ounces) Ripe fresh strawberries for main flavor base
– 1 tablespoon Lemon juice for acidity balancer
– ⅓ to ½ cup Sugar for sweetener
– 1 tablespoon Quick-cooking tapioca or cornstarch for thickener
– A pinch Salt for flavor enhancer
Instructions
1-First Step: Gather and Prep Your Ingredients Begin by washing 1 quart of ripe fresh strawberries in a vinegar and water solution to remove any dirt or pesticides, then hull and slice them. Taste the strawberries to decide on ⅓ to ½ cup of sugar based on their sweetness, and measure out 1 tablespoon of lemon juice, your chosen thickener (tapioca or cornstarch), and a pinch of salt. For dietary adaptations, this step is simple for vegan or gluten-free needs since all items are naturally compliant. Blending half a cup of the sliced strawberries with the lemon juice and half a cup of water (skip the water if using cornstarch) will set you up for success.
2-Second Step: Blend the Base Mixture Take half a cup of the sliced strawberries and blend them with 1 tablespoon of lemon juice and half a cup of water until smooth, creating a flavorful base that adds thickness and taste. If you’re using cornstarch, omit the water to prevent the mixture from becoming too watery, which is helpful for low-calorie versions. This step takes about 2 minutes and ensures the filling has a consistent texture, making it easy to incorporate variations for different dietary preferences. Once blended, you’re ready to move to the pot.
3-Third Step: Combine and Heat the Mixture In a pot, mix the ⅓ to ½ cup of sugar, 1 tablespoon of quick-cooking tapioca or cornstarch, and the pinch of salt. Add the blended strawberry mixture and heat it over medium heat until it reaches a boil, stirring constantly to avoid lumps. If you choose tapioca, simmer for about 5 minutes until it thickens; for cornstarch, remove from heat right after boiling to maintain clarity. This process, which takes around 5-7 minutes, allows for adjustments like reducing sugar for diet-conscious readers, ensuring the filling suits various needs. Here’s where you can explore other fruit-based recipes for inspiration.
4-Fourth Step: Add Remaining Strawberries and Final Cook Once the mixture boils, stir in the remaining sliced strawberries and continue cooking until the whole thing boils again, which should take just a minute or two. This step infuses the fresh strawberry pieces into the thickened base, enhancing the flavor and texture. For adaptations, if you’re making a low-calorie version, ensure you’ve adjusted the sugar earlier. After boiling, quickly remove from heat and let it cool to set properly, resulting in a filling that’s ready for use in 10 minutes of cook time total.
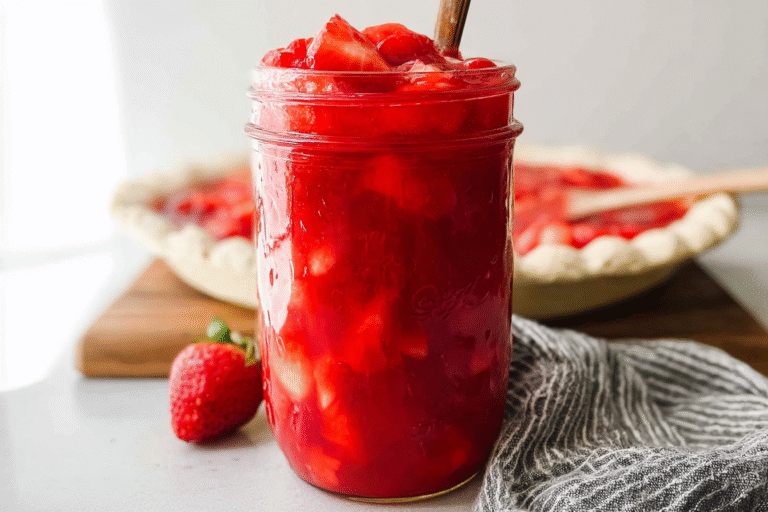
5-Final Step: Cool and Store the Filling After cooking, cool the filling quickly by transferring it to a bowl and stirring occasionally, then store it in a jar. This homemade strawberry pie filling can last 3-4 days in the refrigerator or up to 3 months if frozen, as per the recipe details. It’s versatile for no-bake pies or as a topping, and for dietary needs, it remains straightforward. Serve it in your favorite desserts and enjoy the fresh taste you’ve created in just 20 minutes total. For more ideas, check out a classic muffin recipe where this could add a twist.
Last Step:
Please leave a rating and comment letting us know how you liked this recipe! This helps our business to thrive and continue providing free, high-quality recipes for you.Notes
🍋 Wash strawberries in a vinegar and water solution to remove dirt and pesticides.
🍬 Taste strawberries first and adjust sugar amount between 1/3 to 1/2 cup to suit sweetness.
👩🍳 Use quick-cooking tapioca for clearer filling and better flavor; cornstarch works but behaves differently.
- Prep Time: 10 minutes
- Cook Time: 10 minutes
- Category: Dessert
- Method: Cooking
- Cuisine: American
- Diet: Vegetarian
Nutrition
- Serving Size: 1/4 cup