Ingredients
– 4.4 ounces, 1/2 cup mayonnaise creates the creamy base
– 2.6 ounces, 3 tablespoons ketchup adds tang and light sweetness
– 1.5 tablespoons Worcestershire sauce brings savory depth
– 1 teaspoon garlic powder adds mellow garlic flavor
– 1/2 teaspoon coarse black pepper gives the sauce its peppery kick
– 1/2 teaspoon salt balances the flavor
Instructions
1-First step: Gather and measure everything Start by setting out a medium mixing bowl, a spoon or whisk, and all of your ingredients. Measure out 4.4 ounces mayonnaise, 2.6 ounces ketchup, 1.5 tablespoons Worcestershire sauce, 1 teaspoon garlic powder, 1/2 teaspoon coarse black pepper, and 1/2 teaspoon salt. Having everything ready makes the process fast and smooth. If your mayo is very cold, let it sit on the counter for a few minutes first. Room-temperature mayonnaise blends more easily and gives you a silkier sauce.
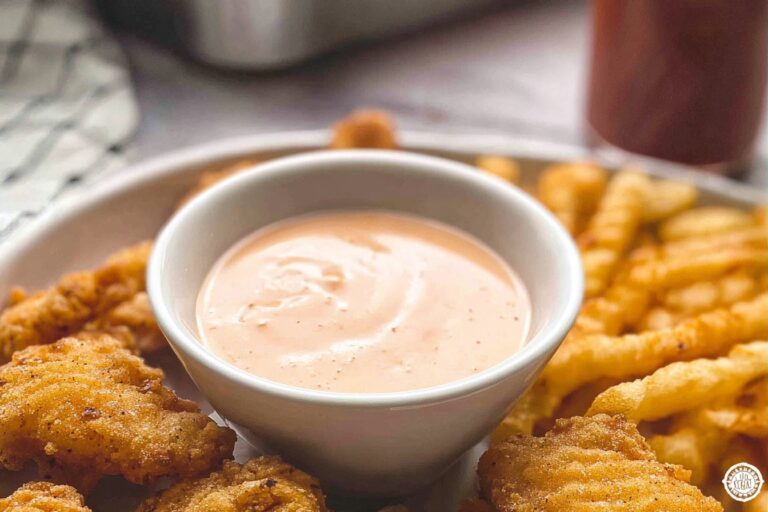
2-Second step: Add the base ingredients to the bowl Place the mayonnaise and ketchup in the bowl first. These two ingredients form the creamy, pink base that makes this sauce so recognizable. Then add the Worcestershire sauce, garlic powder, black pepper, and salt. At this stage, the mixture will look a little separated, and that is normal. You have not finished stirring yet, so do not worry if it does not look perfect right away.
3-Third step: Stir until fully mixed Use a whisk or spoon to stir everything together until the sauce looks smooth and even. Make sure you scrape the sides and bottom of the bowl so no dry spice gets left behind. A small whisk works great here, but a fork will also do the job if that is what you have on hand. The goal is a creamy sauce with no streaks of ketchup or clumps of seasoning. Once it is fully mixed, taste it. If you want a little more pepper, add a tiny pinch, but keep in mind that the flavor will grow stronger after chilling.
4-Fourth step: Chill for the best flavor Transfer the sauce to a jar or covered container and refrigerate it for at least 6 hours. If you can wait, 24 hours is even better. That resting time gives the ingredients a chance to blend, which is why homemade Raising Canes Sauce often tastes richer the next day. The sauce is safe to eat right after mixing, but the flavor gets much better after it rests in the fridge. For best results, cover the container tightly so the sauce does not pick up fridge odors. This also keeps the texture fresh and smooth.
5-Final step: Serve cold and enjoy When you are ready to serve, give the sauce a quick stir. Then spoon it into a small bowl or dipping cup. It is great with chicken tenders, fries, burgers, sandwiches, and even as a dip for veggies or chips. One of the best things about this sauce is how flexible it is. You can make it ahead for parties, pack it for lunch, or keep it in the fridge for quick weeknight meals. It is simple, familiar, and very easy to use.
Last Step:
Please leave a rating and comment letting us know how you liked this recipe! This helps our business to thrive and continue providing free, high-quality recipes for you.Notes
🧊 Chill for up to 24 hours for the best flavor development.
🌶️ Add cayenne, onion powder, or Cajun seasoning for extra kick.
🌱 Swap mayo and Worcestershire for vegan versions to make it plant-based.
- Prep Time: 3 minutes
- Chill Time: 6 hours (ideally 24 hours)
- Category: Condiment
- Method: No Cook
- Cuisine: American
Nutrition
- Serving Size: 2 tablespoons
- Calories: 159 kcal
- Sugar: 3g
- Sodium: 496mg
- Fat: 16g
- Saturated Fat: 2g
- Unsaturated Fat: 12g
- Trans Fat: 0g
- Carbohydrates: 5g
- Fiber: 0.1g
- Protein: 0.4g
- Cholesterol: 9mg