

Why You’ll Love This Rice Krispie Treats
Rice Krispie Treats stand out as a quick favorite for anyone craving something sweet and simple. This classic recipe needs just a few basic items and comes together in no time, making it ideal for busy days. Let’s look at what makes these treats so appealing to home cooks, parents, and treat lovers alike.
- Ease of preparation: With a total prep time of about 10 to 15 minutes, this recipe is perfect for those short on time, like working professionals or students. You only need one pot and a few stirs, so there’s minimal cleanup afterward, letting you enjoy the fun without hassle.
- Health benefits: These treats contain carbohydrates mainly from the crisp rice cereal and marshmallows, providing a quick energy boost. The ingredients offer a balance of sugar and fat from butter and marshmallows, making it a fun snack that can fit into a balanced diet for energy-focused individuals.
- Versatility: You can adapt this recipe for various needs, such as using plant-based substitutes for vegan options or gluten-free cereal for those with dietary restrictions. It’s a flexible base that works for families, travelers, or anyone experimenting in the kitchen.
- Distinctive flavor: The mix of gooey marshmallows, buttery richness, and crunchy cereal creates a unique texture and taste that’s hard to beat. It’s that perfect sweet snack or dessert that brings joy to gatherings, appealing to baking enthusiasts and party hosts.
This recipe shines for its straightforward steps and customizable nature, helping you create memorable moments. Whether you’re a beginner or a pro, Rice Krispie Treats offer a delightful way to satisfy cravings while keeping things light and fun.
Jump to:
- Why You’ll Love This Rice Krispie Treats
- Essential Ingredients for Rice Krispie Treats
- Main Ingredients
- Special Dietary Options
- How to Prepare the Perfect Rice Krispie Treats: Step-by-Step Guide
- First Step: Gather Your Tools and Ingredients
- Second Step: Melt the Butter
- Third Step: Add and Melt the Marshmallows
- Fourth Step: Mix in the Cereal
- Fifth Step: Press into the Pan
- Final Step: Cool and Serve
- Dietary Substitutions to Customize Your Rice Krispie Treats
- Protein and Main Component Alternatives
- Vegetable, Sauce, and Seasoning Modifications
- Mastering Rice Krispie Treats: Advanced Tips and Variations
- Pro Cooking Techniques
- Flavor Variations
- Presentation Tips
- Make-Ahead Options
- How to Store Rice Krispie Treats: Best Practices
- FAQs: Frequently Asked Questions About Rice Krispie Treats
- How do you make classic Rice Krispie Treats?
- What are the ingredients for Rice Krispie Treats?
- How long do Rice Krispie Treats last?
- Why are my Rice Krispie Treats too hard or dry?
- Can you add chocolate to Rice Krispie Treats?
- Rice Krispie Treats
- Ingredients
- Instructions
- Last Step:
- Notes
- Nutrition
- Did you make this recipe?
Essential Ingredients for Rice Krispie Treats
Gathering the right ingredients is key to making perfect Rice Krispie Treats. Each item plays a role in the final texture and flavor, so let’s break them down. This section lists everything you need with exact measurements for clear guidance.
Main Ingredients
- 85g (3 tablespoons) butter – This provides the creamy base that helps melt the marshmallows smoothly and adds a rich flavor to the treats.
- 300g (10 ounces or about 40 large) marshmallows – These bring the gooey stickiness that holds everything together, offering sweetness and the signature chewy texture.
- 180g (6 cups) crisp rice cereal – This adds the satisfying crunch, primarily supplying carbohydrates for an energy-packed snack.
Special Dietary Options
- Vegan: Swap the butter for 85g of coconut oil or a plant-based alternative to keep the treats creamy without animal products.
- Gluten-free: Use a certified gluten-free crisp rice cereal to ensure the recipe is safe for those with gluten sensitivities, maintaining the same light and crispy feel.
- Low-calorie: Opt for low-sugar marshmallows or reduce the quantity to about 250g, and choose a whole-grain cereal to cut down on sugars while still enjoying the treat’s appeal.
For more on how puffed rice benefits your diet, check out the incredible benefits of adding puffed rice to your diet.
How to Prepare the Perfect Rice Krispie Treats: Step-by-Step Guide
Making Rice Krispie Treats is a simple process that yields delicious results every time. Follow these steps closely for the best outcome, using the nutritional info as a guide for a balanced treat. This guide expands on the classic method to help you achieve that ideal chewy texture.
First Step: Gather Your Tools and Ingredients
Start by pulling together all your ingredients: 85g butter, 300g marshmallows, and 180g crisp rice cereal. Use a large pot, a greased pan (like a 9×13 inch one), and a spatula. This preparation, or mise en place, takes about 2 minutes and ensures smooth sailing ahead.
Second Step: Melt the Butter
Place the 85g butter in a large pot and set it over low heat. Stir occasionally until fully melted, which should take 1-2 minutes. Keep the heat low to avoid burning, as this step sets the foundation for even marshmallow melting, aiming for a temperature around 200°F for best results.
Third Step: Add and Melt the Marshmallows
Once the butter is melted, add the 300g marshmallows to the pot. Stir constantly over low heat until they are completely melted and smooth, about 3-5 minutes. This step is crucial; fresh marshmallows work best and overheating can cause burning, so watch closely to maintain that gooey consistency.
Fourth Step: Mix in the Cereal
Remove the pot from the heat and quickly add the 180g crisp rice cereal. Stir everything until the cereal is well coated with the marshmallow mixture, taking about 1 minute. Work fast here to keep the mix pliable before it starts to set.
Fifth Step: Press into the Pan
Transfer the mixture to your greased pan and press it evenly using buttered hands or a spatula to avoid sticking. Do this gently to keep the treats light; it takes 1-2 minutes, and pressing too hard can make them dense.
Final Step: Cool and Serve
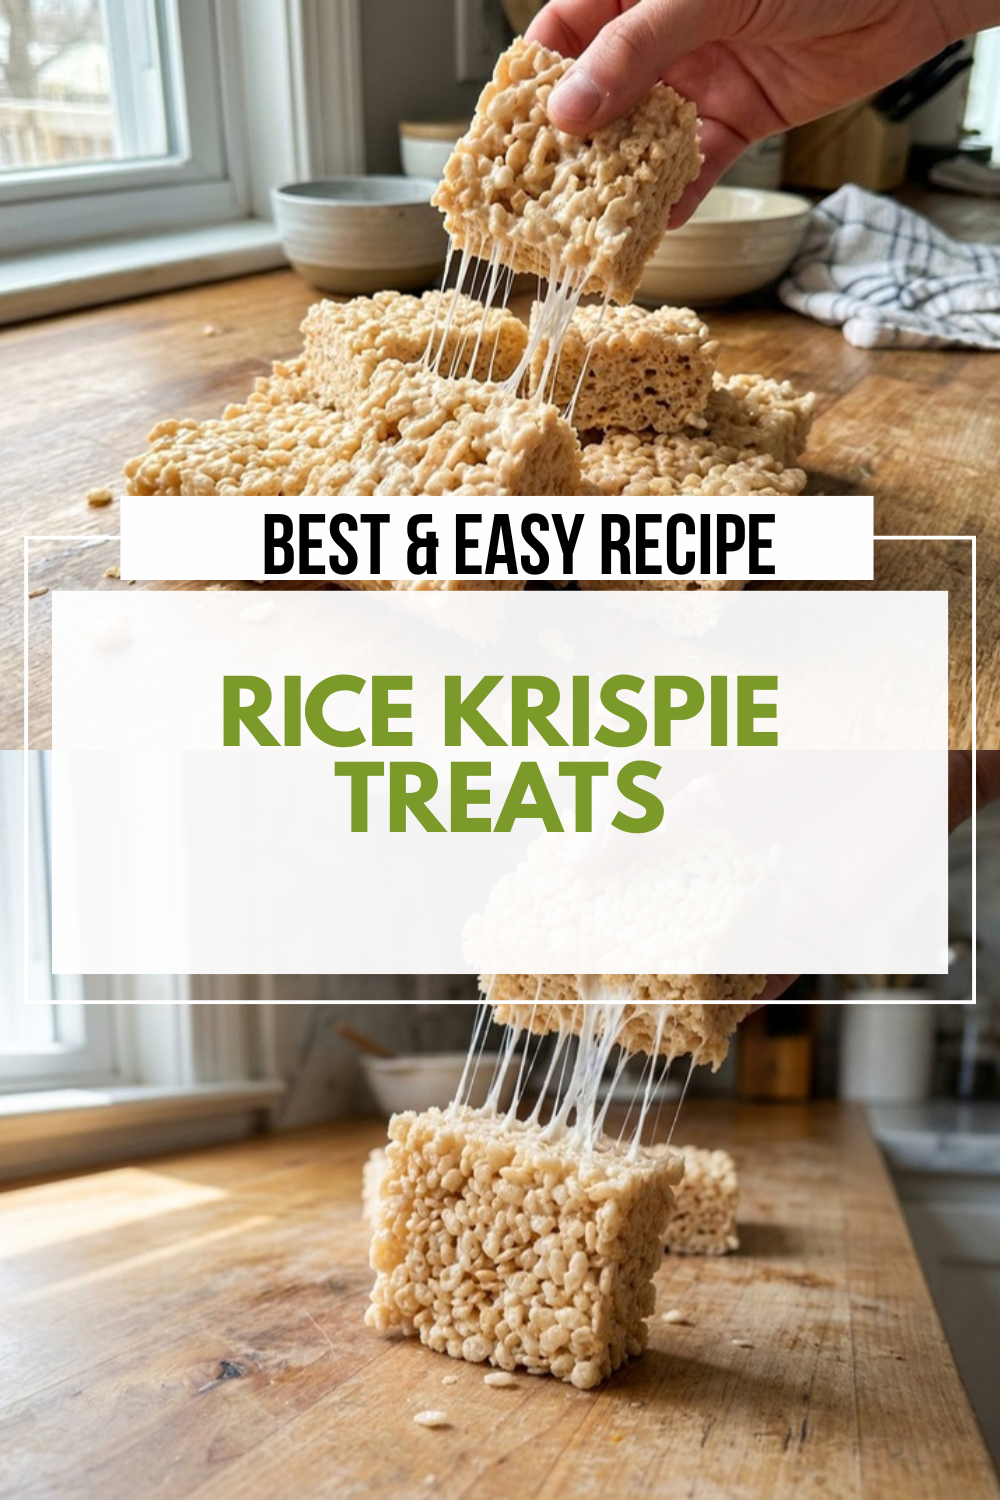
Let the treats cool at room temperature for 15-30 minutes until they set firmly. Then, cut them into squares and serve as a sweet snack. They’re packed with carbohydrates from the cereal and sugar from marshmallows, making them a fun dessert for any occasion.
This method, with a total time of 10-15 minutes, creates treats that serve as a tasty option for busy parents or food enthusiasts. For similar easy recipes, try our guide to blueberry banana muffins, which pairs well with these treats for a full snack spread. Remember, these provide sugar and fat mainly from butter and marshmallows, so enjoy in moderation.
| Step | Time Needed | Key Tip |
|---|---|---|
| Melt Butter | 1-2 minutes | Use low heat |
| Melt Marshmallows | 3-5 minutes | Stir constantly |
| Mix Cereal | 1 minute | Work quickly |
| Press and Cool | 15-30 minutes | Gentle pressure |

Dietary Substitutions to Customize Your Rice Krispie Treats
Protein and Main Component Alternatives
You can tweak the main ingredients for different needs, like swapping crisp rice cereal for other bases. For instance, use quinoa puffs instead of the 180g crisp rice cereal to add more protein, which helps for diet-conscious folks seeking extra nutrients.
Vegetable, Sauce, and Seasoning Modifications
While this recipe is simple, you can add elements like fruit purees for a twist or reduce marshmallows to 250g for less sugar. For seasons, mix in cinnamon during fall, or use vanilla extract as a seasoning to enhance flavor, making it adaptable for travelers or seniors with specific tastes. Another option is to check a classic marshmallow treats recipe for more ideas on modifications.
Mastering Rice Krispie Treats: Advanced Tips and Variations
Pro Cooking Techniques
Using fresh marshmallows ensures even melting and prevents burning, a key tip for better results. Butter your hands before pressing the mixture to avoid sticking, helping you get a uniform shape every time. These techniques make the process smoother for baking enthusiasts.
Flavor Variations
Add chocolate chips or peanut butter for a fun twist, mixing them in with the cereal for bursts of flavor. Try seasonal ingredients like berries to keep things fresh, offering options for party hosts looking to impress. Visit our page on cinnamon bread for complementary ideas that enhance these treats.
Presentation Tips
Cut treats into fun shapes and add sprinkles for eye-catching displays at gatherings. Plate them on colorful trays to make them more appealing for family events.
Make-Ahead Options
Prep the mixture ahead and store it for quick assembly, ideal for busy schedules. This saves time for working professionals who want homemade snacks ready to go.
How to Store Rice Krispie Treats: Best Practices
Proper storage keeps your Rice Krispie Treats fresh and tasty. Follow these guidelines to maintain their chewy texture longer. It’s simple for anyone, from newlyweds to seniors, to handle.
- Refrigeration: Store in an airtight container for up to a week to keep them firm yet soft.
- Freezing: Wrap portions in plastic for 2-3 months, thawing at room temperature for the best results.
- Reheating: Let them sit out to soften without microwaving, preserving quality and safety.
- Meal Prep Considerations: Cut into portions ahead for easy grab-and-go snacks during the week.
FAQs: Frequently Asked Questions About Rice Krispie Treats
How do you make classic Rice Krispie Treats?
To make classic Rice Krispie Treats, gather 6 cups Rice Krispies cereal, 4 cups mini marshmallows (or 40 regular), and 3 tablespoons butter. In a large pot over low heat, melt the butter, then add marshmallows and stir until fully melted and smooth (about 5-7 minutes). Remove from heat and immediately mix in the cereal until evenly coated. Press the mixture firmly into a greased 9×13-inch pan using a spatula or buttered hands to avoid sticking. Let cool for 30-60 minutes at room temperature, then cut into squares. This yields about 24 treats. For best texture, work quickly after mixing and don’t overheat the marshmallows to prevent chewiness. Store in an airtight container.
What are the ingredients for Rice Krispie Treats?
The basic ingredients for Rice Krispie Treats are simple: 6 cups puffed rice cereal (like Rice Krispies), 4 cups mini marshmallows, and 3 tablespoons unsalted butter. Optional add-ins include 1 teaspoon vanilla extract for flavor or a pinch of salt. Use fresh marshmallows for gooey results and avoid substitutes like marshmallow fluff, which can make treats drier. For dietary tweaks, swap butter for coconut oil (vegan) or use gluten-free cereal. Measure cereal loosely for lighter treats. This combo creates the perfect chewy-crisp balance, serving 12-24 people depending on square size. Always grease your pan with butter or non-stick spray for easy release.
How long do Rice Krispie Treats last?
Homemade Rice Krispie Treats stay fresh for 2-3 days at room temperature in an airtight container, thanks to the preservatives in marshmallows. For longer storage, refrigerate in a sealed bag for up to 1 week—they’ll firm up but soften at room temp. Freeze portions wrapped in plastic and foil for 2-3 months; thaw overnight in the fridge or at room temp for 1 hour. Avoid microwaving to reheat, as it makes them tough—room temp is best. If they dry out, brush with a little melted butter. Label containers with dates to track freshness. Properly stored, they retain their signature chew without sogginess.
Why are my Rice Krispie Treats too hard or dry?
Rice Krispie Treats turn hard or dry from common issues like overheating marshmallows (they lose moisture above medium heat), using stale cereal, or pressing too firmly into the pan. Fix by melting butter first on low, adding marshmallows gradually while stirring constantly for 4-6 minutes until just smooth—no boiling. Use fresh cereal measured loosely (6 cups). Gently press mixture into the pan with wet hands or parchment paper instead of packing tightly. Add 1 extra tablespoon butter or a splash of milk for moisture. Let cool slowly uncovered. Test a small batch next time. These steps yield soft, gooey treats every time.
Can you add chocolate to Rice Krispie Treats?
Yes, add chocolate easily for upgraded Rice Krispie Treats. Melt 1 cup chocolate chips with the marshmallows for chocolate-infused treats, or drizzle 1 cup melted chocolate over cooled bars and chill 10 minutes to set. Mix in 1/2 cup mini chocolate chips or M&Ms right after adding cereal for bursts of flavor. For s’mores style, layer graham crackers on the pan bottom before pressing in the mixture, then top with toasted marshmallows. Use milk chocolate for sweetness or dark for balance. Cut cleanly with a hot knife. This boosts appeal for parties—try peanut butter cups too. Each variation keeps the classic base while adding fun twists.
Rice Krispie Treats
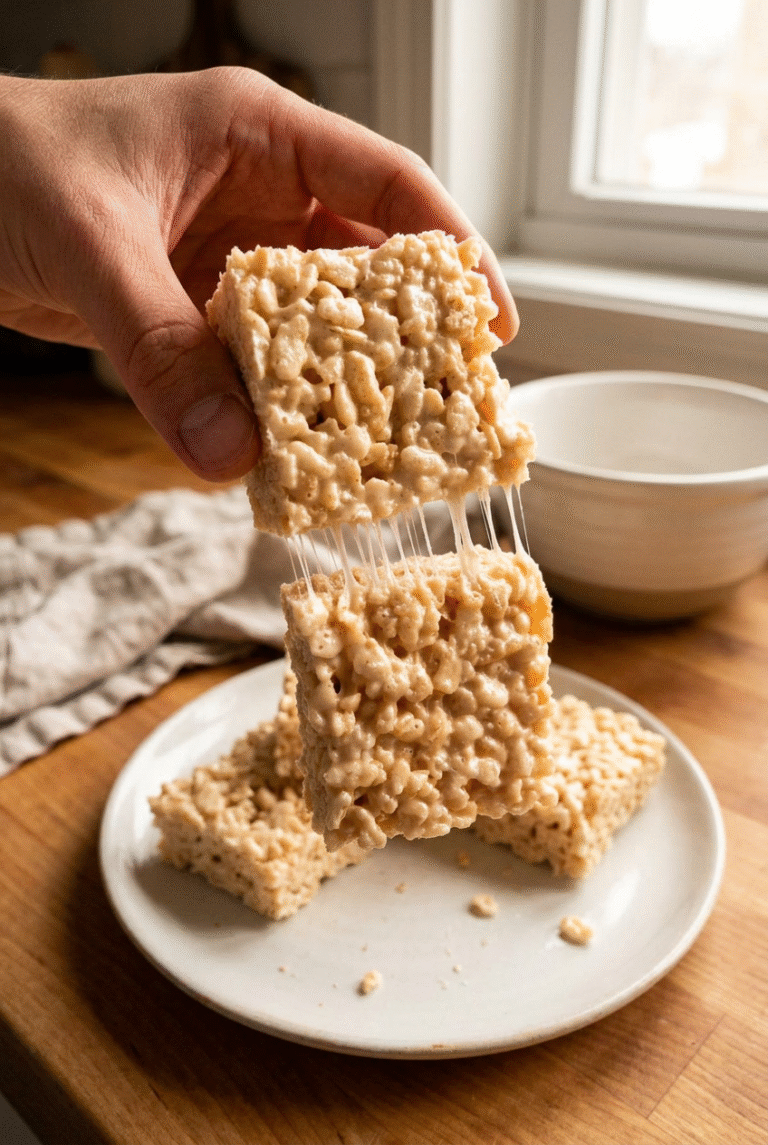
🍬 Indulge in the nostalgic simplicity of Classic Rice Krispies Treats, a quick no-bake snack that’s marshmallowy soft and crispy for instant satisfaction.
📦 Whip up this family favorite using just three ingredients to create chewy, gooey bars perfect for parties or everyday treats that kids and adults love.
- Total Time: 45 minutes
- Yield: 12 squares
Ingredients
– 85g (3 tablespoons) butter
– 300g (10 ounces or about 40 large) marshmallows
– 180g (6 cups) crisp rice cereal
Instructions
1-First Step: Gather Your Tools and Ingredients Start by pulling together all your ingredients: 85g butter, 300g marshmallows, and 180g crisp rice cereal. Use a large pot, a greased pan (like a 9×13 inch one), and a spatula. This preparation, or mise en place, takes about 2 minutes and ensures smooth sailing ahead.
2-Second Step: Melt the Butter Place the 85g butter in a large pot and set it over low heat. Stir occasionally until fully melted, which should take 1-2 minutes. Keep the heat low to avoid burning, as this step sets the foundation for even marshmallow melting, aiming for a temperature around 200°F for best results.
3-Third Step: Add and Melt the Marshmallows Once the butter is melted, add the 300g marshmallows to the pot. Stir constantly over low heat until they are completely melted and smooth, about 3-5 minutes. This step is crucial; fresh marshmallows work best and overheating can cause burning, so watch closely to maintain that gooey consistency.
4-Fourth Step: Mix in the Cereal Remove the pot from the heat and quickly add the 180g crisp rice cereal. Stir everything until the cereal is well coated with the marshmallow mixture, taking about 1 minute. Work fast here to keep the mix pliable before it starts to set.
5-Fifth Step: Press into the Pan Transfer the mixture to your greased pan and press it evenly using buttered hands or a spatula to avoid sticking. Do this gently to keep the treats light; it takes 1-2 minutes, and pressing too hard can make them dense.
6-Final Step: Cool and Serve Let the treats cool at room temperature for 15-30 minutes until they set firmly. Then, cut them into squares and serve as a sweet snack. They’re packed with carbohydrates from the cereal and sugar from marshmallows, making them a fun dessert for any occasion.
Last Step:
Please leave a rating and comment letting us know how you liked this recipe! This helps our business to thrive and continue providing free, high-quality recipes for you.Notes
🧈 Butter your hands or spatula before pressing the mixture into the pan to prevent sticking and ensure even shaping.
🔥 Keep the heat low and stir constantly when melting marshmallows to avoid burning, which can make them tough.
❄️ For future treats, freeze extra dough scoops or baked bars in an airtight container for up to 2 months.
- Prep Time: 5 minutes
- Cooling: 30 minutes
- Cook Time: 10 minutes
- Category: Dessert
- Method: Stovetop
- Cuisine: American
- Diet: Vegetarian
Nutrition
- Serving Size: 1 square
- Calories: 150 kcal
- Sugar: 13 g
- Sodium: 150 mg
- Fat: 3 g
- Saturated Fat: 2 g
- Unsaturated Fat: 1 g
- Trans Fat: 0 g
- Carbohydrates: 31 g
- Fiber: 0 g
- Protein: 1 g
- Cholesterol: 10 mg